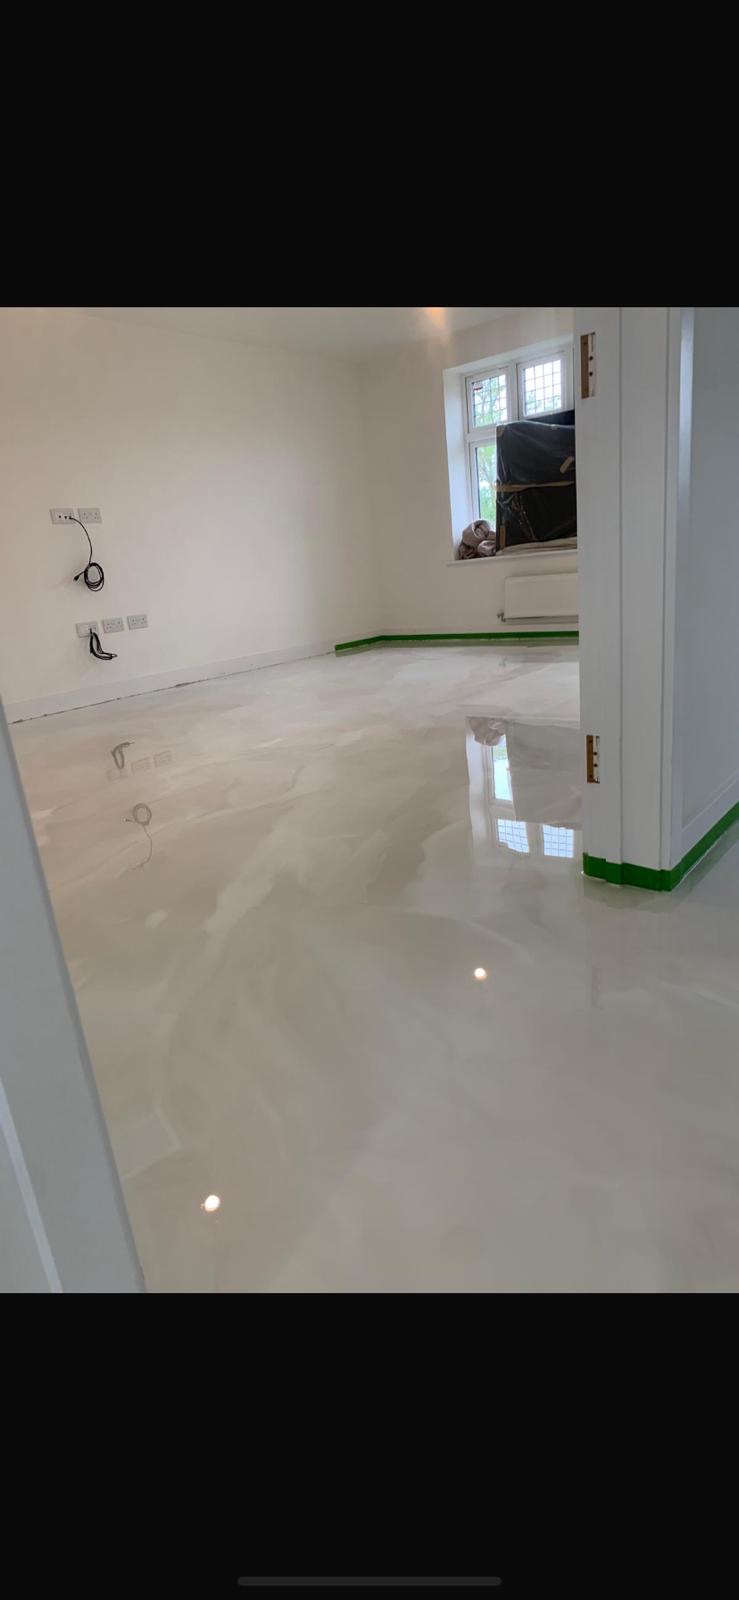
Built for the way you actually use the space.
Resin floors give you a seamless surface that suits contemporary homes. From home gyms and garden rooms to kitchens, utility rooms and open-plan living, we install finishes that look the part and stand up to family life.
Resin flooring for home gyms, utility rooms, workshops, garden rooms and open-plan living.
Resin in a home works harder than most people expect. It has to sit properly inside a designed interior, feel warm and comfortable underfoot, tolerate underfloor heating without cracking, and take everything a family will throw at it. Poured resin does all of that, in a way tile and timber can't.
We install residential resin floors across the West Midlands, in kitchens, utility rooms, garden rooms, home gyms, boot rooms, orangeries and open-plan living. Every install is a designed floor, agreed on sample panels, installed as a professionally prepared multi-layer resin system designed for long-term performance, with installation workmanship backed by our written 10-Year Workmanship Guarantee.
Key benefits
- Truly seamless — no joints, no grout to clean
- Compatible with underfloor heating (excellent thermal conductivity)
- Warm and quiet underfoot vs tile or polished concrete
- Bespoke colour, sheen and effect
- Very hard-wearing under domestic garage use
- Repairable if damaged, unlike LVT or engineered timber
Our installation process
Every residential resin flooring project follows the same disciplined sequence. Skipping steps is where floors fail — we don't skip.
- Step 01
Design and sample panels
We produce physical A4 sample panels in your chosen colour, sheen and effect so the decision is made on the real material — not a screen render.
- Step 02
Subfloor assessment
We check screed moisture, flatness (SR2 minimum for pours) and any pipework or UFH layout. Anhydrite screeds need specific priming — we handle that as part of the standard package.
- Step 03
Preparation
Diamond grinding with HEPA extraction so the rest of your home stays dust-free. On new-build screeds this is usually a light sanding grind rather than a full aggressive prep.
- Step 04
Primer
Epoxy primer specific to the substrate type. Anhydrite gets a barrier primer, concrete gets a penetrating primer, and any pipework knockouts are made good at this stage.
- Step 05
Body coat pour
The self-smoothing or hand-poured body coat is applied. For marble and metallic finishes this is the stage where the artistic work happens — pigments are worked in wet-on-wet by hand.
- Step 06
Clear top coat
A matte, satin or gloss polyurethane clear coat locks in the finish and defines the final sheen and slip rating. For homes we usually recommend a satin PU — it hides everyday micro-scratching and feels warm underfoot.
- Step 07
Sign-off
We walk the floor with you, cover it with breathable protection if other trades are following, and hand over an aftercare pack.
Where it works, where it doesn't
We're honest about specification. A system installed in the wrong environment will fail no matter how well it's laid.
Suitable for
- Open-plan kitchens and living spaces
- Utility, boot and pantry rooms
- Home gyms and studios
- Garden rooms and orangeries
- Hallways and downstairs WCs
- Basements and cellar conversions
Not suitable for
- Suspended timber floors without a rigid overlay board
- Bathrooms with unsealed shower trays (splash areas need cove detail)
- Rooms where screed is not fully cured
Advantages and trade-offs
Advantages
- Design-led finish that looks bespoke, not off-the-shelf
- Excellent with UFH — no cold joints
- No grout, no seams, no dirt traps
- Long life and fully repairable
- Adds architectural value to a designed home
Trade-offs
- •Not a DIY installation — needs specialist skills
- •Higher up-front cost than LVT or laminate
- •Cure time before heavy furniture depends on the system and site conditions
- •Requires the room to be empty during installation
Durability and lifespan
A residential resin floor is one of the longest-lasting finishes you can put in a home. In a typical family kitchen or living space it is normally the clear top coat that is refreshed long before anything else, and the substrate itself doesn't move because it's monolithic with the screed. Actual service life varies with the system, substrate, environment, loading, use and cleaning.
Repairs are where resin genuinely beats other premium finishes. Drop a cast-iron pan on tile and you replace the tile; drop it on resin and we can spot-repair and blend it back in an afternoon.
Curing times
Cure and return-to-service times vary by system and site conditions. Colder conditions extend them; warmer conditions shorten them.
| Stage | Time | Notes |
|---|---|---|
| Foot traffic | Varies by system and site conditions | Light walking in socks or clean shoes once the top coat has gelled. |
| Furniture return | Varies by system and site conditions | Light furniture, tools and shelving can be reintroduced. |
| Vehicle traffic | Varies by system and site conditions | Hot tyres and heavier point loads once the polyurethane clear coat has fully cross-linked. |
| Full chemical cure | Per manufacturer technical guidance | Chemical resistance, wet cleaning and heavy wear reach design spec. |
Maintenance and aftercare
Sweep or vacuum regularly, damp-mop with a neutral cleaner. Avoid strong alkalines, neat bleach and solvent-based products — none of them will attack the resin itself but they can dull the sheen over time.
For homes we suggest a light professional re-seal when inspection and wear indicate the top coat needs refreshing. It's a one-day job and it resets the sacrificial wear layer.
Aftercare checklist
- Walk-off matting at every external door
- Felt pads on all furniture legs
- Neutral pH cleaner only — no bleach, no solvents
- Wipe spills promptly (particularly turmeric and red wine)
- Light re-seal to refresh the sheen when wear indicates it
Colour, finish and customisation
Every residential floor is bespoke. Colour is matched to your interior palette; sheen is chosen for the light in the room; effect is selected on sample panels. We work closely with interior designers and architects on higher-end projects and are happy to produce mock-ups against specific reference images.
Metallic and marble effects are the most-requested residential finishes because no two floors will ever look the same — the floor becomes a genuine one-off feature of the home.
Available finishes
- ◆Hand-poured marble effect
- ◆Metallic and pearlescent floors
- ◆Micro-cement style flat colour
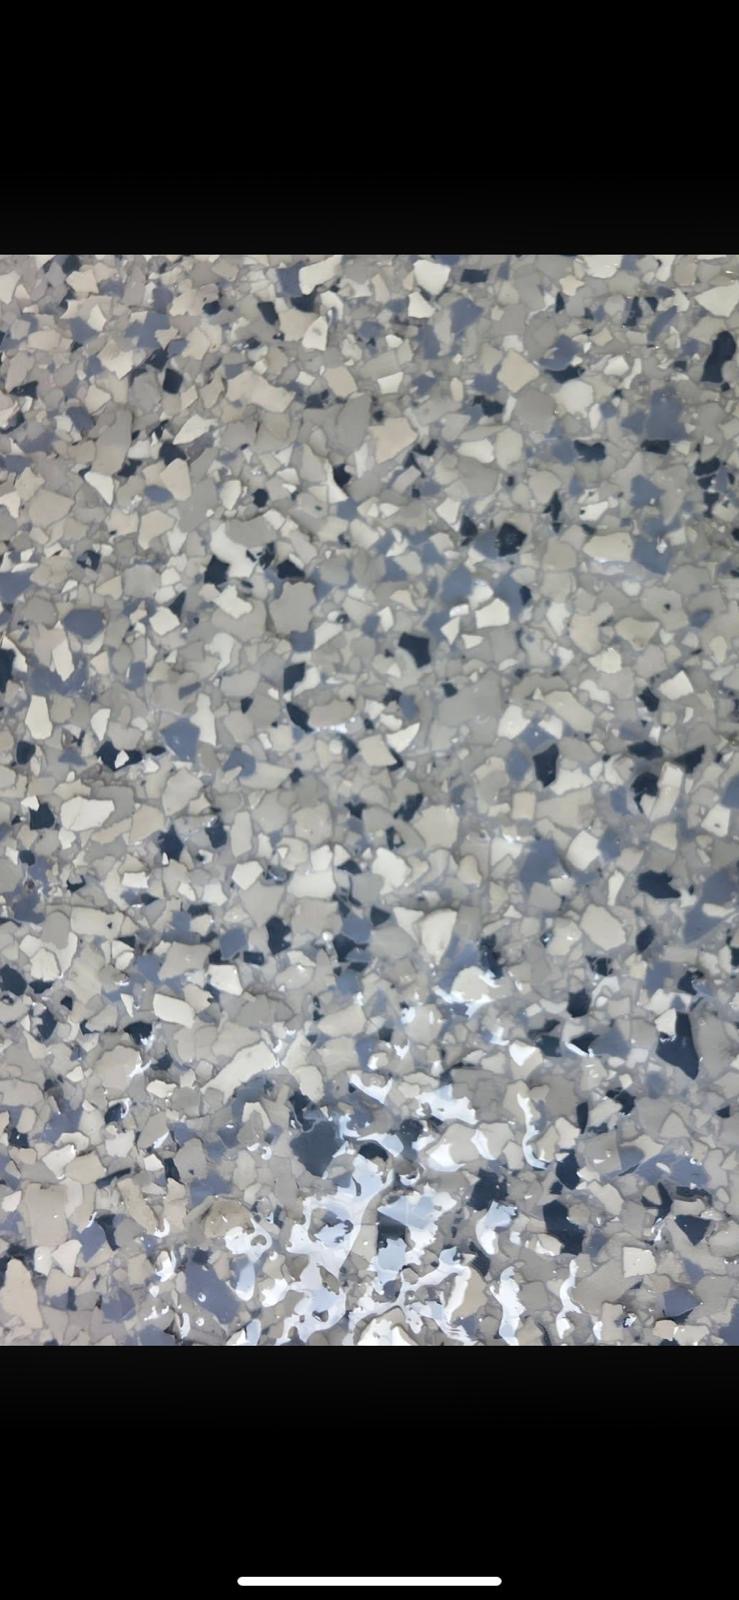
- ◆Terrazzo effect with feature aggregate
- ◆Matte, satin and gloss PU top coats
- ◆Full RAL and Pantone colour matching
We'll bring sample panels to your home, discuss the design against your interior and quote you in writing.
Residential Resin Flooring — frequently asked
Is resin flooring OK with underfloor heating?+
It's arguably the best finish for UFH. Resin conducts heat efficiently, has no joints to crack, and warms up faster than tile or engineered timber.
Is it slippery when wet?+
A satin PU top coat has a slip rating suitable for domestic use. In wet-prone areas like utility rooms we blend a very fine aggregate into the top coat to lift the rating without changing the look.
How thick is the finished floor?+
System build thickness is determined by substrate condition, intended use and specification. Designed in from the start, it finishes flush with most door thresholds.
Can I have it in a bathroom?+
Yes, with cove upstands and proper shower detailing. Wet areas are surveyed individually because the detailing matters more than the resin itself.
Does it smell during installation?+
During the wet stages, yes. The smell clears as the top coat cures, with timing dependent on the system and site conditions. We schedule the programme so you can move back in comfortably.
Related resin systems
Metallic Resin Flooring
Hand-poured metallic resin floors, no two alike.
ReadBespoke Resin Finishes
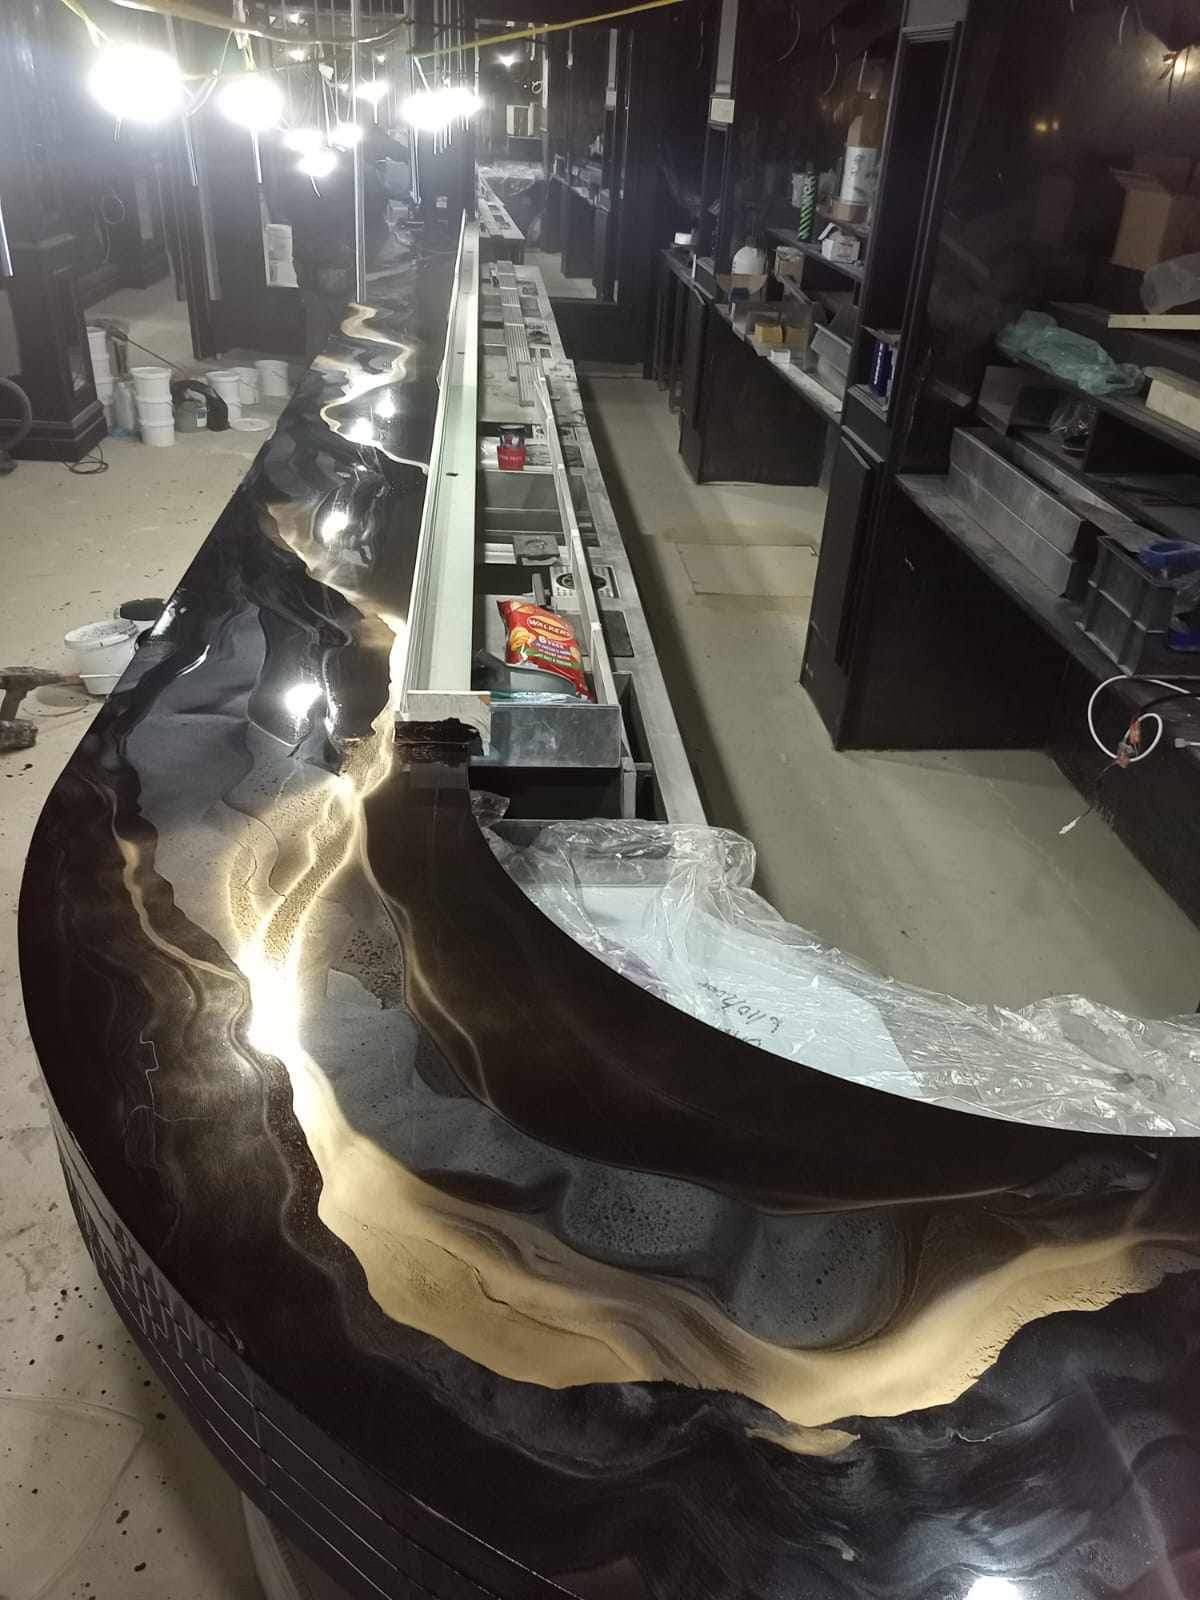
Resin worktops, doors, tables, bars and feature surfaces.
ReadGarage Flooring
Turn any garage into a clean, hard-wearing space.
ReadAvailable across the West Midlands
We install residential resin flooring across:
Call 07756 971 165 for a free quotation, or email admin@epoxyguys.co.uk.
More resin systems by Epoxy Guys

18 sectors. One specialist team.
Warehouse, factory, food, healthcare, retail, showroom and more — engineered resin systems delivered around your shutdown windows.
Ready to start your project?
Call for a free quote, or send your project details by email and we aim to respond within one working day.